How to Remove a Background From AI Sprite Frames (Chroma Key for Clean Transparency)
You generated a great little run cycle in Veo or Kling, exported the frames, and now your character is standing on a slab of teal. The animation looks fine. The background does not belong in your game. So you open the first frame in an editor, start lassoing around the silhouette, and forty-five frames later you want to quit game dev forever.
There's a much faster path, and most of the work happens before you ever generate the video. If you set up the shot right, pulling clean transparency from a whole sprite sequence becomes nearly mechanical. This post is about how that actually works under the hood, where it breaks, and how to get edges you won't be embarrassed by at 2x zoom.
Start by generating on a flat solid color
The single biggest lever you have is the background you ask the model for. If you let Veo or Sora invent a forest, a sky, a dungeon — whatever — you're now doing real segmentation: separating a character from a scene that shares its colors, its lighting, its shadows. That's hard, and the results are mushy.
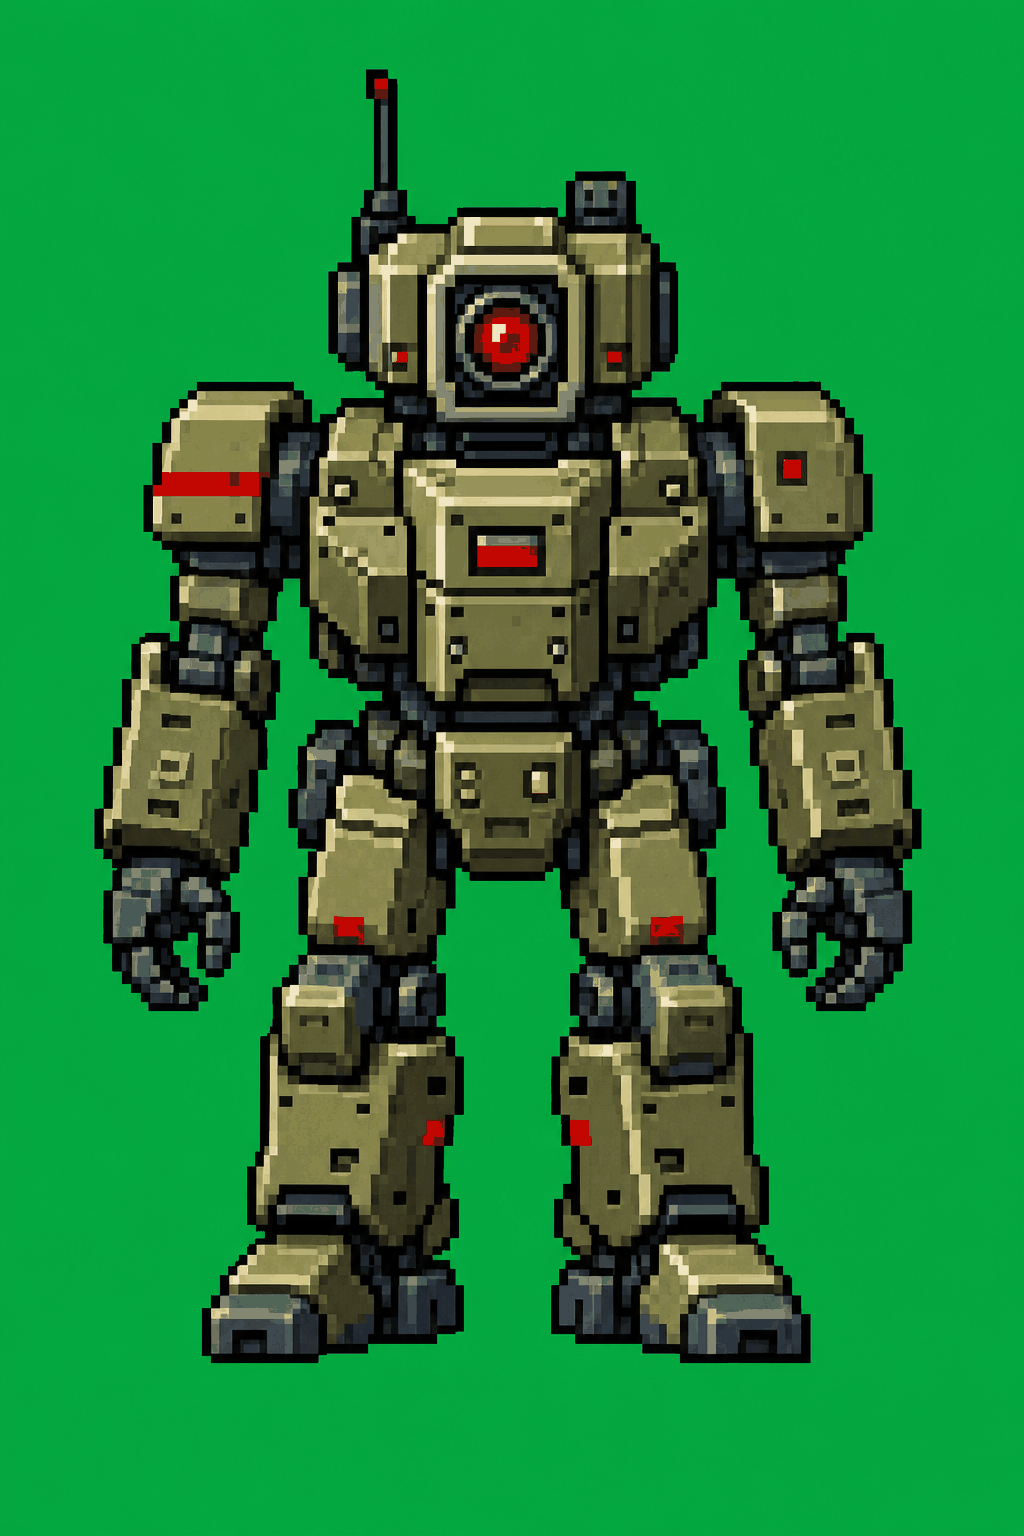
Instead, prompt for a flat, uniform background. A solid color that does not appear anywhere on your character. The classic is chroma green (around #00b140), borrowed from film. But green is a terrible choice if your character has green armor, green skin, or foliage. Magenta and bright blue are the usual backups. Pick the color your sprite is least likely to contain.
A few prompt phrasings that tend to work: "on a solid flat green background, even lighting, no shadows on the floor, character centered." The "no shadows" part matters more than people expect. A contact shadow under the feet is the same problem as a busy background in miniature — it's a soft gradient that bleeds into your key. If the model insists on a drop shadow, you'll be cleaning it up by hand.
You won't get a perfectly uniform color. AI video has compression artifacts, slight lighting variation, and the green will drift a few values across the frame and across time. That's fine. The keying math is built to tolerate a range, not a single exact value.
How chroma keying actually works
At its core, chroma keying is a distance check. For every pixel, you measure how far its color sits from your chosen key color, and if it's close enough, you make it transparent. "Close enough" is your threshold.
The naive version compares RGB directly: take the key color, take the pixel, compute the straight-line distance in RGB space, and compare against a number you tuned. This works, but RGB distance doesn't match how we see color — a small change in brightness reads as a big RGB jump. Most decent keyers convert to a space that separates color from brightness (YCbCr or HSV) and weight the comparison toward hue. Two greens at different brightnesses should both key out; a green and a red at the same brightness should not.
So far so simple. Here's where the naive version falls apart.
Flood-fill from the edges, or you'll punch holes
Say your character has green eyes, or a green gem on their belt, or a patch of the background color shows through a gap in their cape. A pure threshold keyer treats every green pixel the same way it treats the background. It deletes the eyes. You get holes inside the sprite.
The fix is to stop thinking about "all green pixels" and start thinking about "green pixels connected to the edge of the frame." The background touches the border. The character (usually) does not. So instead of keying every matching pixel, you flood-fill inward from the four edges, only removing background-colored pixels that are reachable from outside without crossing the character. Green eyes in the middle of the face are never reached, so they survive.
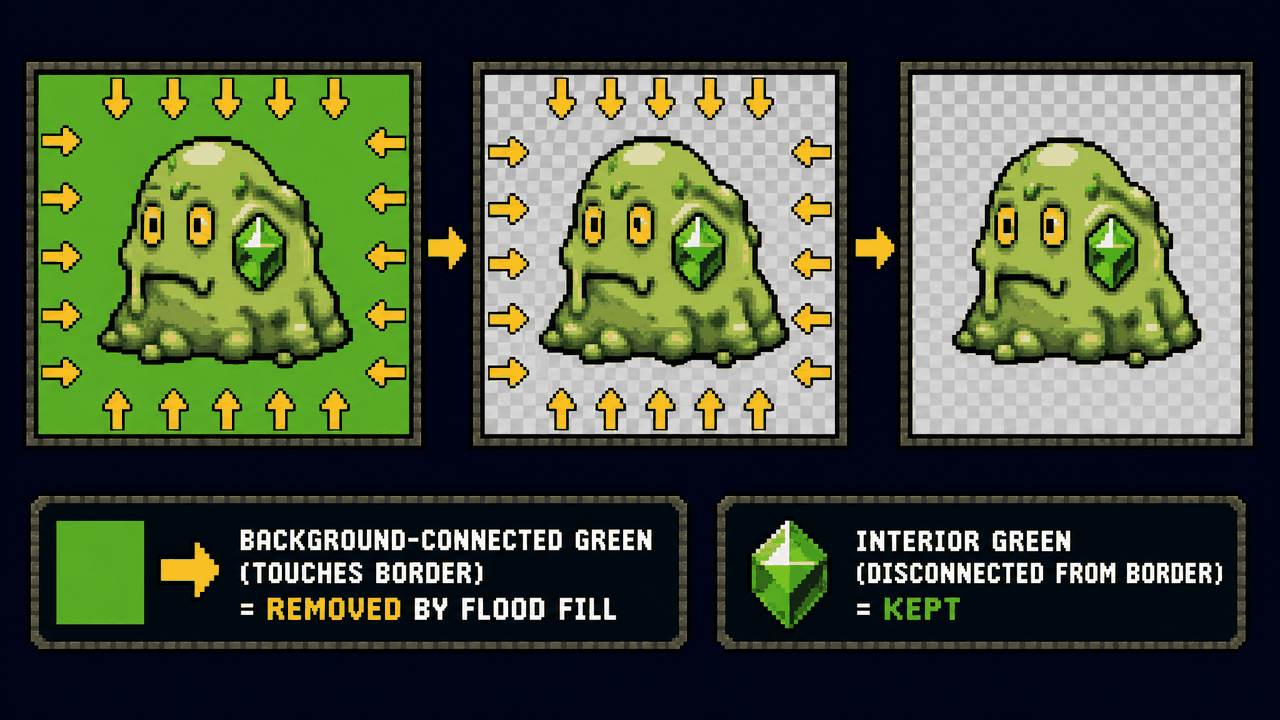
This is the difference between a keyer that works on real sprites and one that looks fine in a demo and ruins your actual character. It's a connected-component / flood-fill pass, not a per-pixel test. The tradeoff: if your character genuinely touches the frame edge — a sword tip running off-screen, say — that region can get nibbled. Keep a little margin around the figure when you generate, and this rarely bites.
Despill: killing the green rim
Even after you've removed the background, look closely at the silhouette. There's almost always a faint colored fringe — green light bouncing onto the edges of the character, plus the anti-aliased pixels where the model blended character and background together. That's spill.
Despill detects pixels where the key color is unnaturally dominant and pulls it back down, usually by clamping the key channel to the average of the other two. On a green key, a rim pixel that's (40, 200, 60) gets its green dragged toward the red/blue level, so the fringe turns neutral instead of glowing. Without despill, every sprite on a colored map gets a sickly halo that's obvious against dark backgrounds.
Feather, and why it fights pixel art
Feathering softens the alpha at the boundary so the edge isn't a hard binary cut. For a high-res character on a hand-painted background, a one or two pixel feather looks natural. For pixel art, feather is usually the wrong tool — you want crisp, fully-on or fully-off alpha, no semi-transparent gray rim, because soft edges look like dirt at integer zoom. If you're doing chroma key for pixel art specifically, set the threshold a touch wider, skip the feather, and snap alpha to 0 or 255. A blurry pixel-art edge reads as a mistake.
Pure logic vs. ML segmentation vs. paid APIs
There are three honest approaches, and they're good at different things.
Pure-logic chroma key is what I've described: distance threshold, edge flood-fill, despill, optional feather. It's deterministic, fast enough to run on every frame in a sequence in a browser, and it gives you exactly the same result every time — which matters enormously for animation, where one inconsistently-keyed frame creates a flicker. Its weakness is that it needs a clean solid-color background. Feed it a real scene and it has nothing to key against.
In-browser ML segmentation (models like MODNet, or the segmentation built into newer browser ML runtimes) doesn't care about background color. It learned what "foreground subject" looks like and masks it directly. Great when you couldn't control the background, or for photoreal characters. The downsides for sprite work are real: it's slower, the mask wobbles slightly frame to frame (that flicker again), and it's trained on humans and common objects, so a weird fantasy creature or a stylized 2D character can confuse it. For a clean green-screen sprite, an ML model is a heavier, less predictable tool than the math.
Paid background-removal APIs (remove.bg and friends) are basically hosted ML segmentation with nice tuning. They produce lovely single-image cutouts. For a 60-frame sprite sheet they get expensive, they send your frames to someone's server, and you still get the per-frame wobble. Fine for a one-off marketing render. Not how I'd batch a sprite animation.
The practical rule: if you control the generation, generate on a flat color and use logic-based keying. If you're stuck with footage you can't reshoot, reach for ML. The whole reason to generate on green in the first place is to stay in the fast, deterministic, free lane.
The honest limit: anti-aliased edges
Here's the thing nobody selling a one-click tool will tell you. AI video is anti-aliased and compressed. The boundary between your character and the background is not a clean line — it's a band of pixels that are a literal blend of character color and green. A pixel that's 50% character, 50% background is, by definition, half green. No threshold can perfectly decide whether to keep or kill it, because the right answer is "partially, with adjusted color," and that's exactly the information the video compression already destroyed.
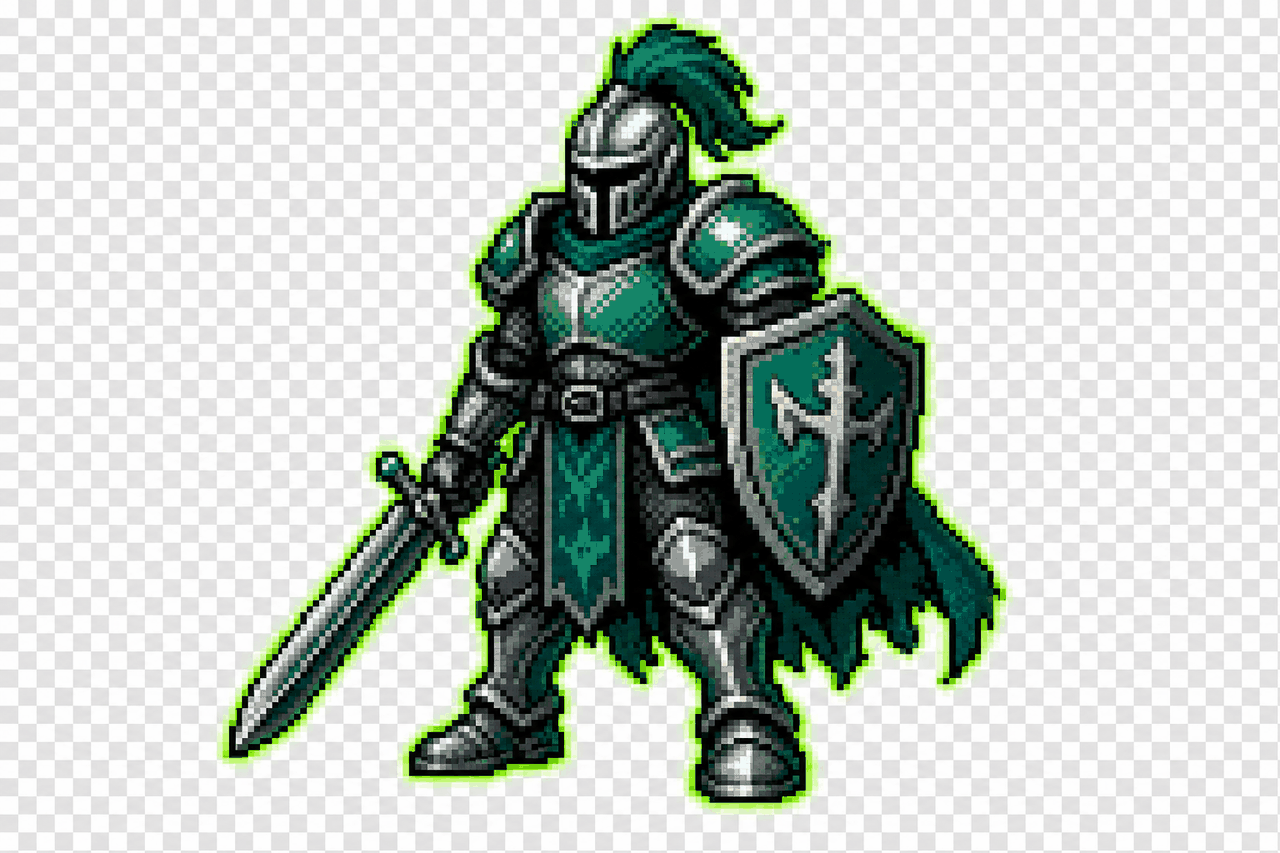
What this means in practice: on hair, fur, motion-blurred limbs, and thin details, you'll get either a faint fringe or a slightly chewed edge, no matter how good the keyer is. Despill hides most of it. A dark outline on your character (generate with a defined ink line) hides the rest, because the boundary band becomes part of the intended outline instead of a defect. This is why a lot of stylized 2D characters key better than photoreal ones — the art style is doing your edge-cleanup for you.
So set expectations: a flat-color sprite with a clean silhouette and a defined outline will key to genuinely production-ready transparency. A wispy, motion-blurred, photoreal character will need a pass of manual touch-up on the worst frames. Knowing which one you generated saves you a lot of fighting.
Putting it together in practice
The workflow that actually holds up: generate your animation on a flat color you picked deliberately, with even lighting, no floor shadow, a little margin, and ideally a defined outline. Pull the frames out of the video. Run a logic-based chroma key with edge flood-fill and despill across the whole sequence so every frame keys identically. Export as a PNG sequence (or a looping APNG if you want to preview the motion with alpha intact).
That's the loop the Sprite Frame Extractor is built around — it takes a short AI clip, lets you pick the loop range and frame rate, and gets you to a clean PNG sequence you can drop into the keyer and then into your engine. Once the frames are transparent, the companion sheet slicer packs them into a sprite sheet, and you've gone from a Veo prompt to a usable game animation without opening Photoshop once.
It won't be magic on every clip. But the developers who get clean sprites out of AI video almost never have a better keyer than everyone else. They just made a better decision about the background before they hit generate.
FAQ
Q. What background color should I generate AI sprites on?
Use a flat, uniform color that does not appear anywhere on your character. Chroma green (~#00b140) is the default, but switch to magenta or bright blue if your character has green elements. The keyer measures color distance from that one color, so the further your sprite's colors are from the key, the cleaner the cut. Also ask for even lighting and no floor shadow.
Q. Why does my keyer delete parts of my character, like the eyes?
Because a naive threshold keyer removes every pixel close to the key color, including a green gem or green eyes inside the sprite. The fix is edge flood-fill: only remove background-colored pixels that are connected to the frame border. Interior matching pixels are never reached, so they survive. If your tool punches holes, it isn't doing the flood-fill pass.
Q. Is chroma key good for pixel art sprites?
Yes, with one change: skip the feather. Feathering creates soft, semi-transparent edge pixels that look like dirt at integer zoom. For pixel art you want hard alpha — fully on or fully off. Widen the threshold slightly and snap alpha to 0 or 255 so edges stay crisp.
Q. Should I use chroma key or AI background removal?
If you control the generation, generate on a flat color and use logic-based chroma keying — it's free, fast, deterministic, and gives identical results on every frame, which prevents flicker in animation. Use ML segmentation or a paid API only when you're stuck with footage where you couldn't control the background, since those wobble frame to frame and the cost adds up over a long sequence.
Q. Why do my sprite edges still look fringed after keying?
AI video is anti-aliased and compressed, so the boundary is a band of pixels that literally blend character and background color. No threshold can perfectly resolve that. Despill removes most of the colored fringe, and generating your character with a defined dark outline hides the rest by turning the boundary band into part of the intended line. Photoreal, motion-blurred subjects will still need manual touch-up on the worst frames.