How to Slice a Sprite Sheet into Individual Frames (Grids, Gaps, and Irregular Packing)
You downloaded a character sheet, or an animation export came back as one big PNG, and now you need the frames as separate images. This is one of those tasks that sounds trivial and then eats an afternoon because the spacing is off by two pixels and every frame has a sliver of the next one bleeding in. I've sliced a lot of sheets over the years, by hand and with tools, and the whole thing comes down to describing the grid correctly. Get the grid right and the export is boring. Get it wrong and you'll be re-cropping frames one at a time.
Here's how I think about it, and how to do it fast with Sprite Slicer without uploading your art anywhere.
First, figure out what kind of sheet you have
Before you touch any settings, open the PNG and look at it. Sprite sheets fall into roughly three buckets, and which one you have decides everything.
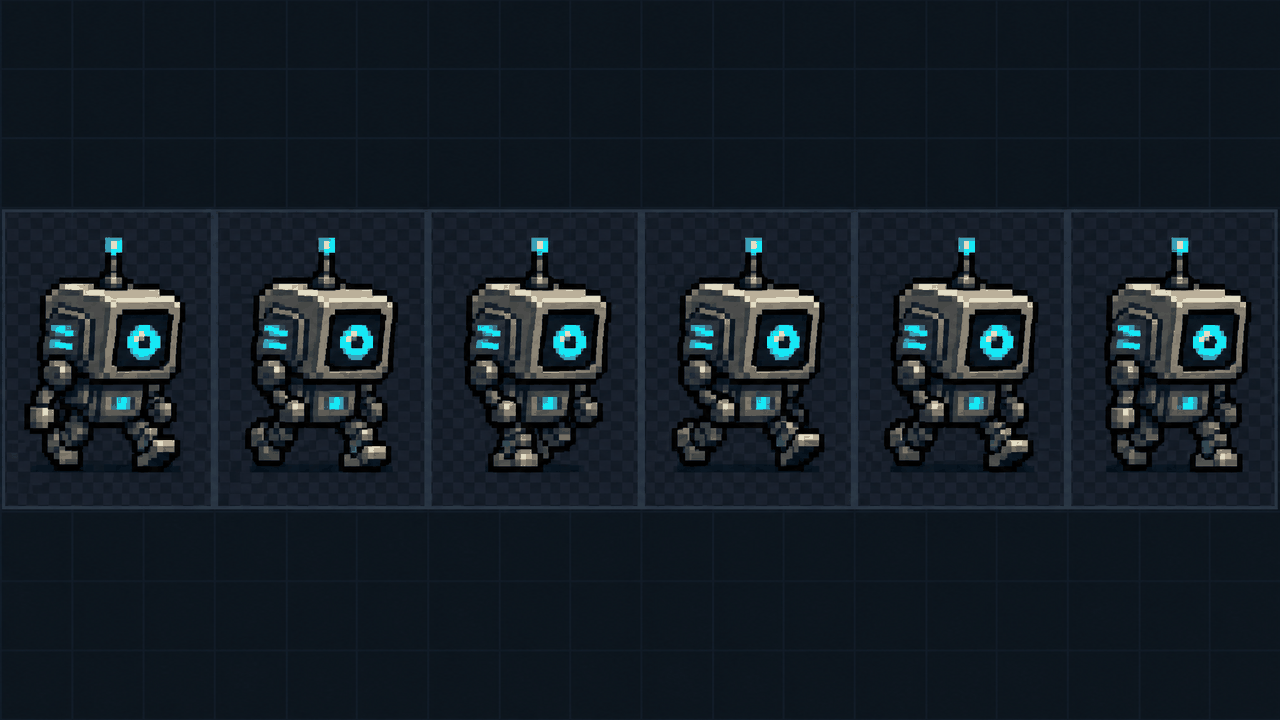
The clean case is a uniform grid: every frame is the same size, laid out in even rows and columns, like a 6x4 of 64x64 walk-cycle frames. Engines export these all the time. Aseprite, TexturePacker in grid mode, most run-of-the-mill packers. If your sheet looks like graph paper with a sprite in every cell, you're in the easy lane.
The annoying-but-manageable case is a grid with spacing. Same uniform frames, but there's a 1 or 2 pixel gap between cells, or a margin around the whole sheet, or both. This is extremely common because spacing prevents texture bleeding when the GPU samples adjacent frames. You just have to tell the slicer about that spacing.
The painful case is a hand-packed or irregular sheet, where frames are different sizes and crammed together to save space. There's no grid to describe. We'll get to those at the end, because they need a different approach.
Slicing a uniform grid
You define the grid one of two ways, and they're interchangeable.
You can give the columns and rows directly. If you know the sheet is 8 frames across and 3 down, type 8 and 3, and the tool divides the image width by 8 and the height by 3 to get the cell size. This is the move when you know the frame count but haven't measured the pixels.
Or you can give the frame size in pixels, say 32x32 or 48x48, and let it work out how many columns and rows fit. This is usually the more reliable input because it comes straight from the art. If an artist tells you the character is drawn on a 64-pixel base, type 64x64 and you're done. The risk with columns/rows is that a single mismeasurement (the sheet is actually 7 wide, not 8) throws every frame off, and the error compounds across the row.
My habit: if I know the pixel dimensions, I use frame size. If I only know the animation has, say, 12 frames in one strip, I use columns and rows. When the two disagree, the pixel size is almost always the truth and the frame count is where I miscounted.
A quick sanity check on the math
For a sheet with no spacing, this has to hold: image_width = columns × frame_width, and the same for height. A 512px-wide sheet at 64px frames gives exactly 8 columns. If your division leaves a remainder, you don't have a clean uniform grid, or there's spacing you haven't accounted for. That remainder is the single most useful diagnostic you have. A leftover of 7 pixels across 8 columns? That smells like 1px gaps between cells.
Margins, gaps, and offsets
This is where most bad slices come from, so it's worth being precise about the three different kinds of spacing, because people mix them up constantly.
- Margin is empty padding around the outside edge of the whole sheet. The first frame doesn't start at pixel 0; it starts a few pixels in.
- Gap (sometimes called spacing or padding) is the gutter between cells. After each frame there's a strip of empty pixels before the next one begins.
- Offset is a shift applied before the first frame specifically, which is really just the top-left margin expressed separately for the X and Y directions. Handy when the padding isn't symmetric.
The formula for where column c starts becomes offset_x + c × (frame_width + gap_x). You don't need to compute that by hand, but understanding it tells you which knob to turn when a slice is wrong. If every frame is creeping rightward and the drift gets worse toward the end of the row, your gap is too small. If only the first frame is off and the rest are fine relative to it, fix the offset.
Practical recipe for a spaced sheet: set your frame size first, then add the gap, then nudge the offset last. Slicing in that order means each adjustment is independent and you can see exactly what each one does. If you try to solve all three at once you'll chase your tail.
One real gotcha: some sheets have a gap on the right and bottom of each cell but not a left or top margin, others have a full 1px border all the way around. They look identical at a glance. If your slice is perfect on the first row but slips by a pixel by the last row, you've got a gap problem. If it's uniformly shifted everywhere, it's a margin or offset problem.
When you don't know the grid: auto-fit
Half the time you get a sheet with no documentation and no obvious pixel ruler. That's what auto-fit is for. It scans the image, looks at where transparent gutters fall and where the opaque content sits, and estimates a column/row count for you.
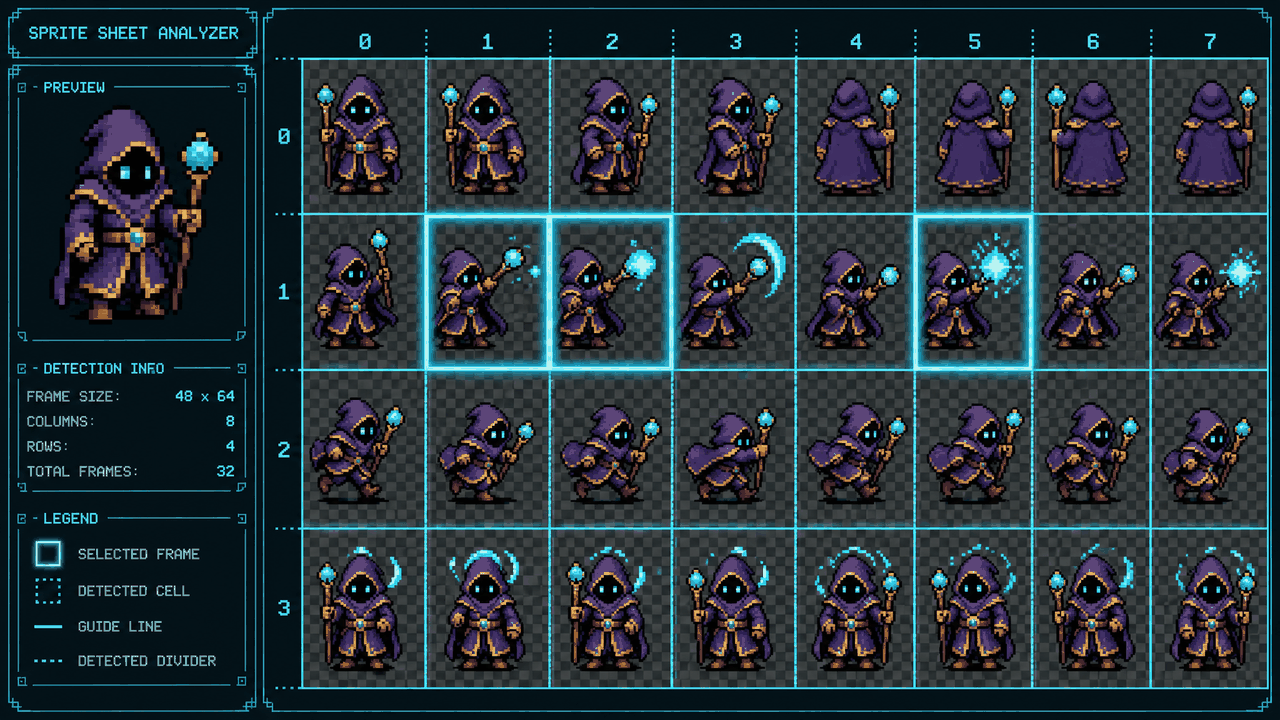
Auto-fit is a starting guess, not gospel. It works beautifully on sheets that have clean transparent separation between frames, because the empty columns of pixels are dead giveaways for cell boundaries. It struggles when frames touch edge to edge with no transparency between them, or when a sprite's own internal transparency (a gap between the legs, say) looks like a frame boundary.
So my workflow with an unknown sheet is: run auto-fit, look at the estimate, then reason about it. If it says 31 columns, that's almost certainly wrong and should be 32 with a 1px gap it didn't catch. Round to a sensible number, switch to manual frame-size input, and confirm. Auto-fit gets you in the right neighborhood in two seconds; your eyes close the last mile.
Trimming and normalizing before export
Slicing into a grid gives you frames, but each frame often has a bunch of transparent padding around the actual sprite, and the sprite sits in a different spot frame to frame. That's a problem if you're feeding them into an engine that expects consistent dimensions, or if you want tight bounding boxes.
Two settings handle this. Auto-trim crops the transparent padding off each frame so you get the actual pixel content. Then normalize to a fixed square pastes every trimmed frame back onto a same-size canvas so they all come out, say, 64x64. The alignment choice matters here: bottom alignment pins each sprite to the floor of its canvas, which is what you want for characters standing on ground so they don't bob up and down between frames. Source alignment keeps each frame's original position, which you want when the sprite's placement within the cell is itself meaningful (a projectile arcing, an effect that moves across the frame).
For a walk cycle, bottom-align. For almost anything where the motion is the whole point, source-align and don't let trimming throw away the positioning.
Hand-packed and irregular sheets
Now the hard case. If frames are different sizes and packed tight, no single grid describes them, and any grid-based slicer will produce garbage. You have three honest options.
If the sheet shipped with a data file (a .json, .xml, or .plist next to the PNG, which TexturePacker and similar always emit), use that. The atlas data has the exact rectangle for every frame and is the correct source of truth. A grid slicer is the wrong tool when you have an atlas descriptor; parse the descriptor instead.
If there's no data file but the packing is mostly regular with a couple of oddballs, slice it as a grid anyway, export, and fix the handful of broken frames manually in an image editor. Often faster than it sounds.
And if it's genuinely chaotic with no metadata, you're cropping by hand, full stop. There's no algorithm that reliably recovers arbitrary author intent from a packed atlas without the rectangles. Don't waste an hour fighting a grid tool against a sheet that was never on a grid.
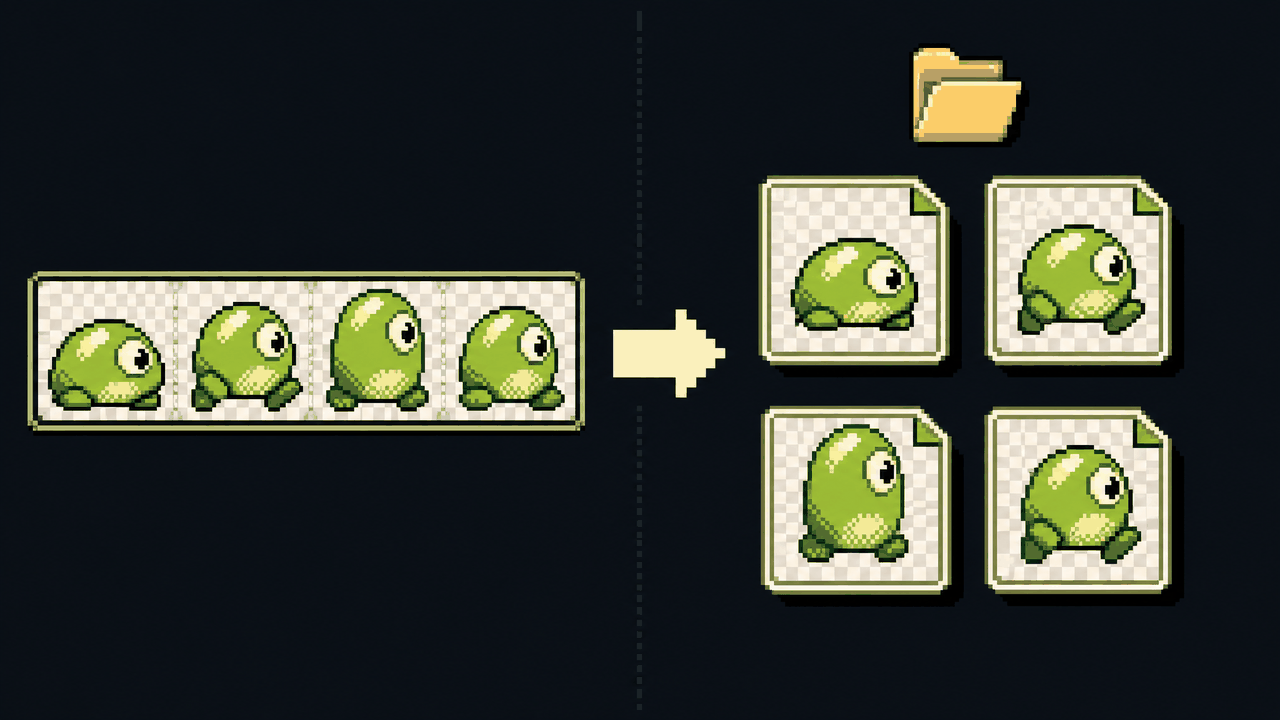
Getting the frames out
Once the grid is right and frames look clean in the preview, export. In Chrome and Edge you can drop the whole batch straight into a folder you pick, thanks to the File System Access API, which is the sane way to do it for a 40-frame animation. In other browsers you fall back to individual downloads. Everything runs locally in the browser, so your unreleased character art never leaves your machine, which matters more than people admit when they paste assets into random online cutters.
If your frames started life as an AI-generated video rather than a sheet, the companion Video Frame Extractor pulls stills out of the clip first, and then you treat those as your source. Same idea, one step earlier in the pipeline.
The whole skill here is reading the sheet before you start clicking. Spend the ten seconds to identify uniform versus spaced versus hand-packed, and the rest is just typing two or three numbers correctly.
FAQ
Q. How do I know the frame size of a sprite sheet if nobody told me?
Run auto-fit first for a quick estimate, then verify with division: a clean uniform sheet satisfies image_width divided by columns equaling a whole number. If you get a remainder, you likely have gaps or a margin. You can also open the PNG in any editor, zoom in, and measure one cell with the marquee or pixel ruler. Common base sizes are powers of two like 16, 32, 64, and 128, so if your measurement lands near one of those, it usually is that.
Q. What's the difference between a margin and a gap when slicing?
A margin is empty padding around the outside edge of the whole sheet, so the first frame doesn't start at pixel zero. A gap is the gutter between adjacent cells. They cause different symptoms: a wrong margin shifts every frame uniformly, while a wrong gap causes drift that worsens across each row. Offset is just the top-left margin split into separate X and Y values for asymmetric padding.
Q. Can I split a sprite sheet into images without uploading it anywhere?
Yes. Sprite Slicer runs entirely in your browser, so the PNG is never sent to a server. That matters for unreleased or licensed art. In Chrome or Edge it can export a whole batch of frames directly into a folder you choose; other browsers download each frame individually.
Q. How do I slice a sprite sheet where every frame is a different size?
A grid-based slicer can't handle truly irregular packing. If the sheet shipped with a data file (.json, .xml, or .plist from a packer like TexturePacker), use that, since it contains the exact rectangle for each frame. If most frames are regular with a few oddballs, slice as a grid and fix the broken ones by hand. If it's fully chaotic with no metadata, you'll have to crop manually.
Q. Should I bottom-align or source-align my frames when normalizing?
Use bottom alignment for characters that stand on the ground, like walk and idle cycles, so the sprite doesn't bob between frames after trimming. Use source alignment when the sprite's position within the frame is part of the motion, such as a projectile arc or a moving effect, where keeping each frame's original placement is the point.